Knowing how to perform bike tire changing can save you from being stranded during a ride. Did you know over 425,000 cyclists were injured in 2022 alone? A flat tire can leave you vulnerable on the road. Learning this skill not only boosts your confidence but also ensures your safety while cycling.
Key Takeaways
Always bring tools like tire levers, a spare tube, and a pump. These tools help you fix a tire quickly and easily.
Check your tire and tube for damage before putting them back. This helps avoid more flats and keeps your ride safe.
Practice changing a tire at home before long trips. Knowing how to do it makes you confident and avoids errors.
Tools and Materials for Bike Tire Changing

Changing a bike tire doesn’t require a toolbox full of fancy gadgets, but having the right tools makes the process much smoother. Let’s break down what you’ll need.
Essential Tools
You’ll want to keep a few key items handy for bike tire changing. Tire levers are a must—they help you pry the tire off the rim without damaging it. A spare inner tube or patch kit is essential for fixing flats. Don’t forget a reliable bike pump to inflate the tire once you’re done. If you’re riding tubeless tires, sealant is necessary to ensure a proper seal. These tools are lightweight and easy to carry, so you can take them on rides for emergencies.
Optional Tools for Convenience
While the essentials will get the job done, some optional tools can make the process easier. A portable work stand keeps your bike stable while you work. Quick links are great for chain repairs, and a derailleur hanger can save the day if your derailleur gets damaged. Extra brake pads and cleats are helpful backups, especially for long rides. These tools aren’t mandatory, but they’re worth considering if you want to be fully prepared.
Preparing Your Workspace
Before you start, set up a clean and organized workspace. Lay out your tools where you can easily reach them. If you’re at home, a garage or driveway works well. On the road, find a flat, safe spot away from traffic. Inspect your tire for cracks or dry rot before removing it. This step helps you catch potential issues early and ensures a smoother repair process.
Step-by-Step Guide to Bike Tire Changing
Preparation
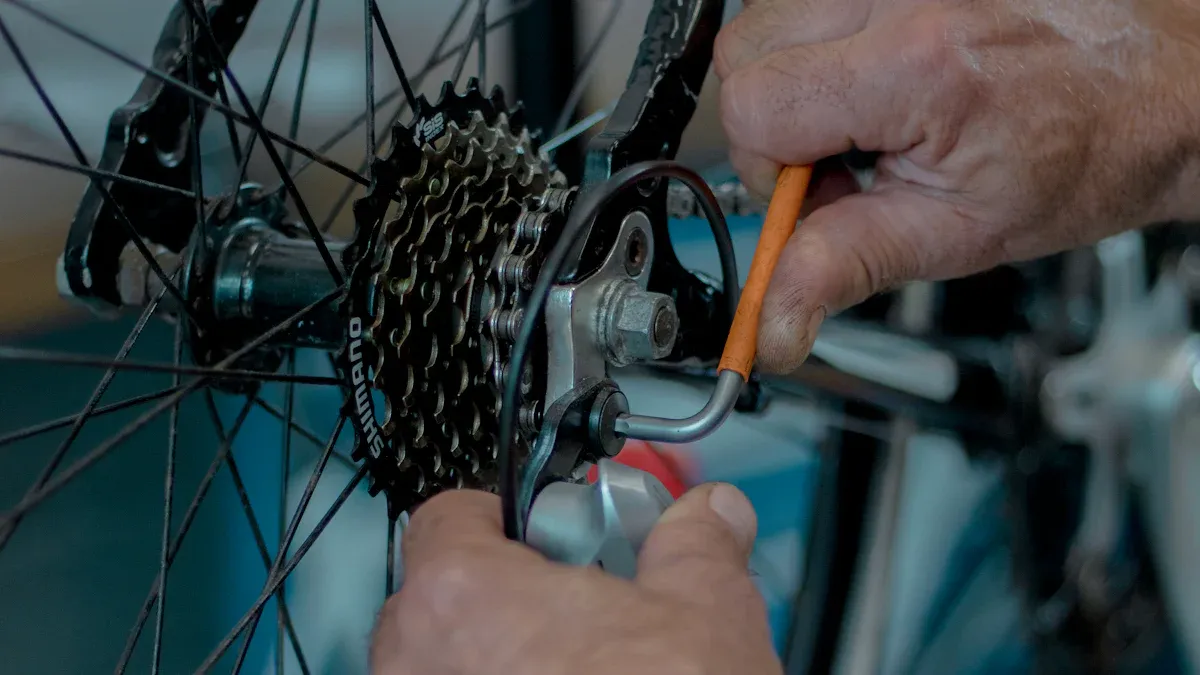
Before you dive into bike tire changing, take a moment to prepare. First, shift your bike into the smallest gear on the rear cassette. This makes removing the wheel easier. If you’re working on the front tire, you can skip this step. Next, flip your bike upside down or place it on a work stand. This keeps it stable while you work. Release the brakes if they’re connected to the wheel. For disc brakes, ensure the rotor doesn’t get damaged during the process. Finally, gather your tools and keep them within reach. A little preparation goes a long way in making the process smooth.
Removing the Tire
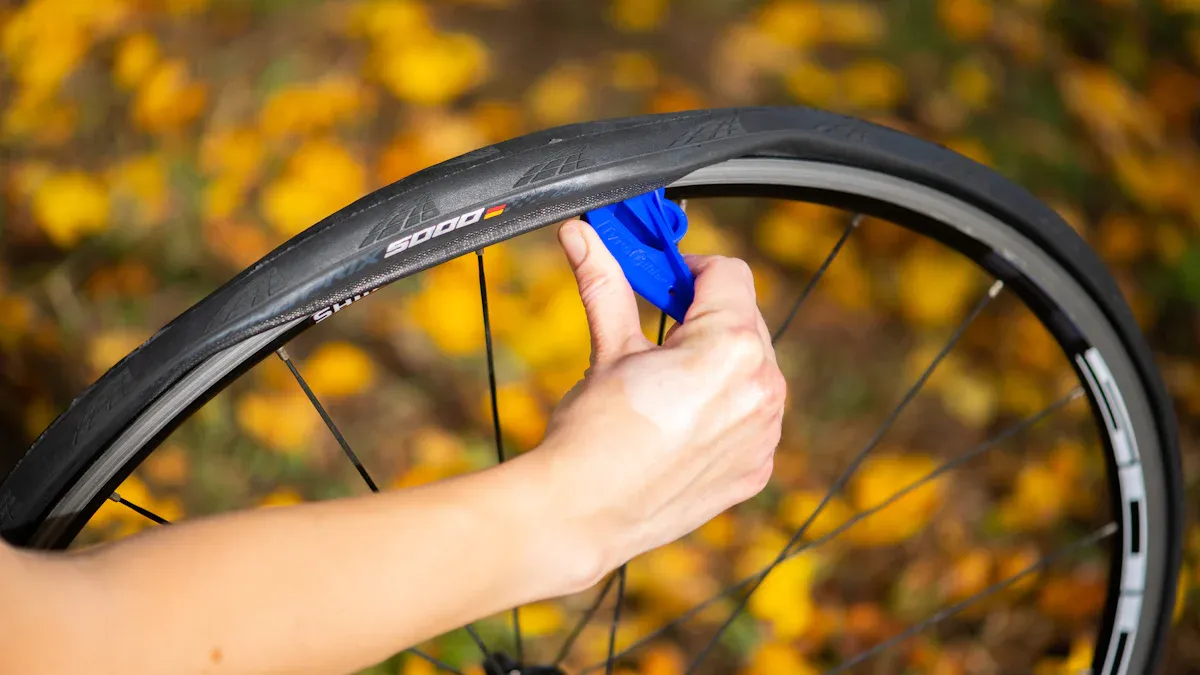
Removing the tire is straightforward if you follow the right steps. Start by loosening the quick-release lever or axle nuts to detach the wheel from the bike. Once the wheel is off, deflate the tire completely by pressing the valve. Use tire levers to pry one side of the tire away from the rim. Work your way around the rim until the tire is loose. If you’re dealing with a stubborn tire, don’t rush—use gentle pressure to avoid damaging the rim or tire. Once one side is free, pull out the inner tube if you’re replacing it. For tubeless tires, clean out any remaining sealant before moving on.
Inspecting and Replacing the Tube or Tire
This step is crucial for ensuring your bike is ready for the road. Carefully inspect the inner tube and tire for damage. Look for punctures, threadbare tread, cracking sidewalls, bulging, small nicks, and flat spots. Regularly checking tire pressure prevents flats and keeps your ride smooth. If the tire shows signs of wear, such as tread wear, cuts, or sidewall damage, it’s time to replace it. Rotate your tires periodically to even out wear and replace them every 2,500 to 4,000 kilometers based on usage. If you’re replacing the inner tube, make sure it’s the correct size for your tire. Insert the new tube or tire, ensuring it’s seated properly before moving on.
Reassembling the Wheel
Reassembling the wheel is easier than it sounds. Start by placing the inner tube inside the tire if you’re using one. Inflate it slightly to give it shape, then push the tire back onto the rim. Use your hands to work the tire onto the rim, starting at one side and moving around. If the tire feels tight, use tire levers to help. Once the tire is fully seated, check that the tube isn’t pinched between the tire and rim. Reattach the wheel to the bike, ensuring it’s aligned properly. Tighten the quick-release lever or axle nuts securely. For disc brakes, double-check that the rotor is positioned correctly.
Inflating the Tire and Final Checks
Inflating the tire is the final step in bike tire changing. Use a reliable bike pump to inflate the tire to the recommended pressure. Check the sidewall of your tire for the correct PSI range. Avoid overinflation, as it can lead to a hard ride, reduced traction, and increased risk of blowouts. Underinflation can cause sluggish performance, higher rolling resistance, and pinch flats. Here’s a quick guide:
Tire Pressure Condition | Effects on Performance | Consequences |
|---|---|---|
Overinflation | Hard ride, reduced traction, increased risk of blowouts, faster wear on center tread | Uncomfortable ride, handling issues, tire damage |
Underinflation | Soft ride, increased rolling resistance, higher risk of pinch flats, increased wear on sidewalls | Sluggish performance, difficulty maintaining speed, reduced tire lifespan |
Once inflated, spin the wheel to ensure it rotates smoothly. Check the brakes and gears to confirm everything is functioning properly. Take a short test ride to make sure the tire feels secure and the bike handles well. You’re ready to hit the road!
Tips and Common Mistakes in Bike Tire Changing
Tips for a Smooth Process
Changing a bike tire doesn’t have to feel like rocket science. With a few handy tips, you can make the process quicker and easier. Here’s how:
Start with the right tools: Always keep tire levers, a spare inner tube, and a reliable pump in your kit. These essentials save time and frustration.
Deflate the tire completely: Press the valve to release all the air before removing the tire. This makes it easier to work with.
Use tire levers correctly: Push the tire bead toward the inside of the rim, then use the levers to pull the tire over the rim hook. Work slowly to avoid damaging the tire or rim.
Inspect the rim and tape: Before inserting a new tube or tire, check the rim for damage. Replace the rim tape if it’s worn or misaligned. Position it carefully next to the valve hole.
Inflate the inner tube slightly: A little air helps the tube hold its shape, making it easier to insert into the tire.
Work in sections: Insert one tire bead into the rim, starting opposite the valve. Then, insert the second bead, ensuring it’s seated properly.
Check tire pressure: Inflate the tire to the recommended PSI, but don’t overdo it. Too much pressure can lead to blowouts.
Spin the wheel: Rotate the wheel to ensure it’s centered and the tire is seated evenly.
These steps not only simplify bike tire changing but also reduce the chances of errors.
Pro Tip: Keep a small notebook with your bike’s tire pressure range and maintenance schedule. It’s a lifesaver when you’re on the go!
Common Mistakes to Avoid
Even seasoned cyclists can make mistakes when changing a bike tire. Avoid these common pitfalls to save yourself time and hassle:
Skipping the inspection: Don’t rush past checking the tire, tube, and rim for damage. A missed crack or puncture can lead to another flat in no time.
Using excessive force: Tire beads can be stubborn, but forcing them can damage the rim or tire. Use gentle pressure and tire levers instead.
Pinching the inner tube: When inserting the tube, make sure it’s not caught between the tire and rim. A pinched tube can cause leaks or flats.
Overinflating the tire: Pumping beyond the recommended PSI might seem like a good idea, but it can lead to a hard ride and increased risk of blowouts.
Ignoring alignment: After reassembling the wheel, double-check that the tire is centered and the brakes are functioning properly. Misalignment can affect your ride and safety.
Note: If you’re new to bike tire changing, practice at home before heading out on a long ride. Familiarity with the process builds confidence and reduces mistakes.
By keeping these tips in mind and avoiding common errors, you’ll master bike tire changing in no time.
Changing a bike tire isn’t as hard as it seems. With the right tools and steps, you’ll feel confident tackling flats anytime. Regularly check your tires for wear and pressure. This simple habit keeps your rides smooth and safe.
Reminder: Practice at home before heading out. Confidence grows with experience! 🚴
FAQ
How often should you check your bike tires for wear and tear?
You should inspect your tires every few weeks or before long rides. Look for cracks, worn tread, or embedded debris.
Can you reuse an old inner tube after patching it?
Yes, you can reuse a patched inner tube if the repair holds air. However, carry a spare tube for emergencies during rides.
Tip: Always test a patched tube by inflating it before reinstalling it. This ensures the patch is secure and leak-free.
What’s the best way to avoid pinch flats?
Keep your tires inflated to the recommended PSI. Avoid riding over sharp objects or potholes, and check your tire pressure regularly.